
When it comes to do-it-yourself (DIY) crafts, the stereotype of it being exclusively for women is rapidly fading away. Men are now embracing their creative side, channeling their inner craftsmen to create unique and practical pieces. From woodworking to metalworking, there are countless DIY projects that cater specifically to the interests and skills of men. In this article, we will explore a range of man-made DIY crafts that not only allow men to showcase their talents but also add a touch of masculinity to their creations.
1. Wooden Hat Hanger
Woodworking has long been associated with skilled craftsmanship, and it offers a vast array of projects for men to explore. A wooden hat rack is a simple yet elegant solution for your home organization needs. With just a few pieces of reclaimed wood, some basic woodworking tools, and a touch of creativity, you can design a unique, rustic addition to your entryway or bedroom.
It typically consists of a hook or a series of hooks attached to a board or other flat surface. The hooks are designed to hold the brim of the hat in place, while the board provides a flat surface for the hat to rest on. Hat hangers are often used in closets, entryways, and other areas where hats are stored.

DIY hat hanger for men (image : Pinterest)
Materials Needed:
- Wooden board
- Screws
- Hooks
- Drill
Instructions:
- Measure and mark the wooden board where you want to place the hooks.
- Pre-drill holes in the board where the hooks will be placed.
- Screw the hooks into the board.
- Hang the board on the wall and hang your hats on the hooks.
2. Tin Can Lanterns
For those with a penchant for a more rugged and industrial aesthetic, metalworking is an excellent choice. Making tin can lanterns for camping is a fun, eco-friendly project that lets you turn waste into something wonderful. With just a few household items, like empty tin cans, a hammer, and a nail, you can create whimsical sources of light that are perfect for a night under the stars

Materials Needed:
- Hammer
- Nail
- Log
- Pencil
- Tin can
- Tin snips
- Coat hanger
- Candle
Intructions:
- Use a soup or tomato can. Punch two holes near the top for the coathanger bale. Cut the coat hanger to size with tin snips, making a handle long enough so that the hand will not get singed when carrying the lantern.
- The holes punched in the sides are to let air in and light out. These can be punched in any design, as long as the holes cover all sides. To punch holes, put the can over a log slightly smaller than the inside diameter, and punch with hammer and nail. The log anvil will prevent crushing of the can sides. Always blow out candle when the lantern is going to be unattended (for safety reasons).
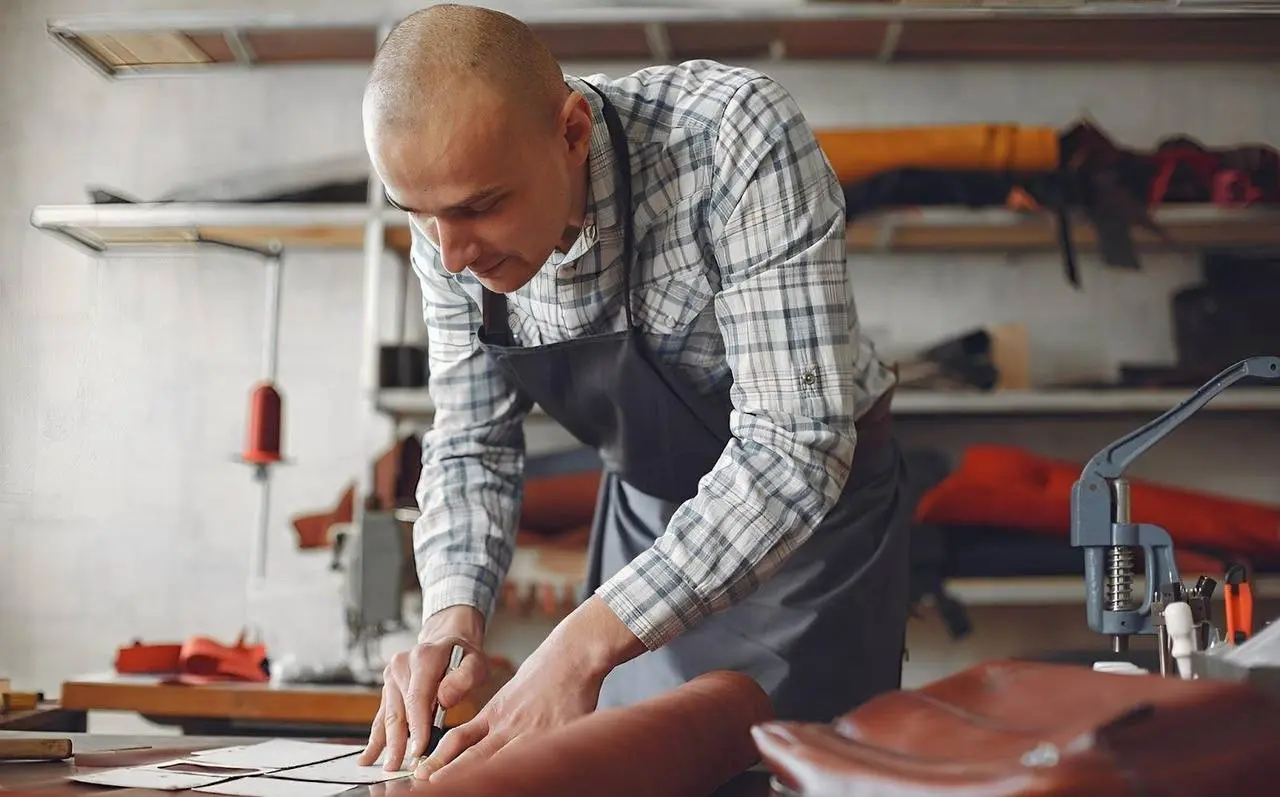
3. Leather keychain
Leather crafting is a versatile DIY craft that combines practicality and style. A leather keychain is a fairly simple DIY and a great beginner project for anyone wanting to get into leather crafting. With just a piece of quality leather, some basic leatherworking tools, and a touch of imagination, you can create a keychain that's both stylish and sturdy.

Materials Needed:
- Tooling leather
- Ruler
- Rotary cutter
- X-ACTO knife
- Leather awl
- Leather hole punch
- Rivet
- Key ring
Instructions:
- Start by measuring and marking your leather piece according to the keychain design dimensions. Include additional space for the key ring loop and rivet holes. Then, cut the leather to the outlined size. This piece will serve as your keychain's body.
- Cut out a trapezoid from the leather piece to create a thinner loop that will accommodate the key ring.
- Utilize a leather punch to make holes that are large enough for the rivets.
- Mark the position where the rivets should be placed, and then use the leather punch to create holes in each layer of the leather.
- Insert the rivets into the prepared holes and secure them.
- Thread the key ring through the thin leather loop.
- Lastly, clean the leather keychain, and it's ready to use.
4. Beer Bottle Cap Table
This craft is a great way to recycle and create a conversation piece for your home.

Materials Needed:
- Wooden Table (a simple coffee table or side table works well)
- Beer Bottle Caps (the amount will depend on the size of your table, but plan for several hundred at least)
- Clear Epoxy Resin
- High-density Paint Roller
- Sandpaper (80-grit and 120-grit)
- Masking Tape
- Level
Instructions:
- Prepare the Table: If your table has a pre-existing finish, you'll need to remove it. Sand the surface of the table using 80-grit sandpaper until the finish is removed. Wipe the table with a damp cloth to remove any dust.
- Arrange the Caps: Start arranging your bottle caps on the table. You can create a pattern or just go random. This is your chance to get creative!
- Seal the Table: Once you've decided on your bottle cap layout, use a high-density paint roller to apply a thin layer of epoxy resin over the table and bottle caps. This will seal the caps in place and create a base layer for the final pour.
- Prepare for the Final Pour: After the first layer of epoxy has dried (check the manufacturer's instructions for drying times), use masking tape to create a border around the edges of your table. This will keep the epoxy from flowing over the sides.
- Pour the Epoxy: Mix a larger batch of epoxy resin according to the manufacturer's instructions. Slowly pour the epoxy over the bottle caps, starting in the center and working your way out to the edges. Make sure all the caps are fully covered.
- Curing: Let the table cure in a dust-free environment for the time recommended by the epoxy manufacturer. Use a level to ensure the table is flat and the epoxy doesn't pool to one side.
- Finishing: Once the epoxy is fully cured, remove the masking tape. If needed, sand the edges of the table where the epoxy may have dripped, starting with 80-grit and working your way up to 120-grit for a smooth finish.
Hope you enjoy these rugged and rewarding DIY projects. Remember, the key to a successful DIY project is patience, creativity, and a willingness to learn. So roll up your sleeves, get your hands dirty, and start creating! Happy DIY-ing!"
Please watch the video below for DIY craft ideas for men.
Leave a Comment