
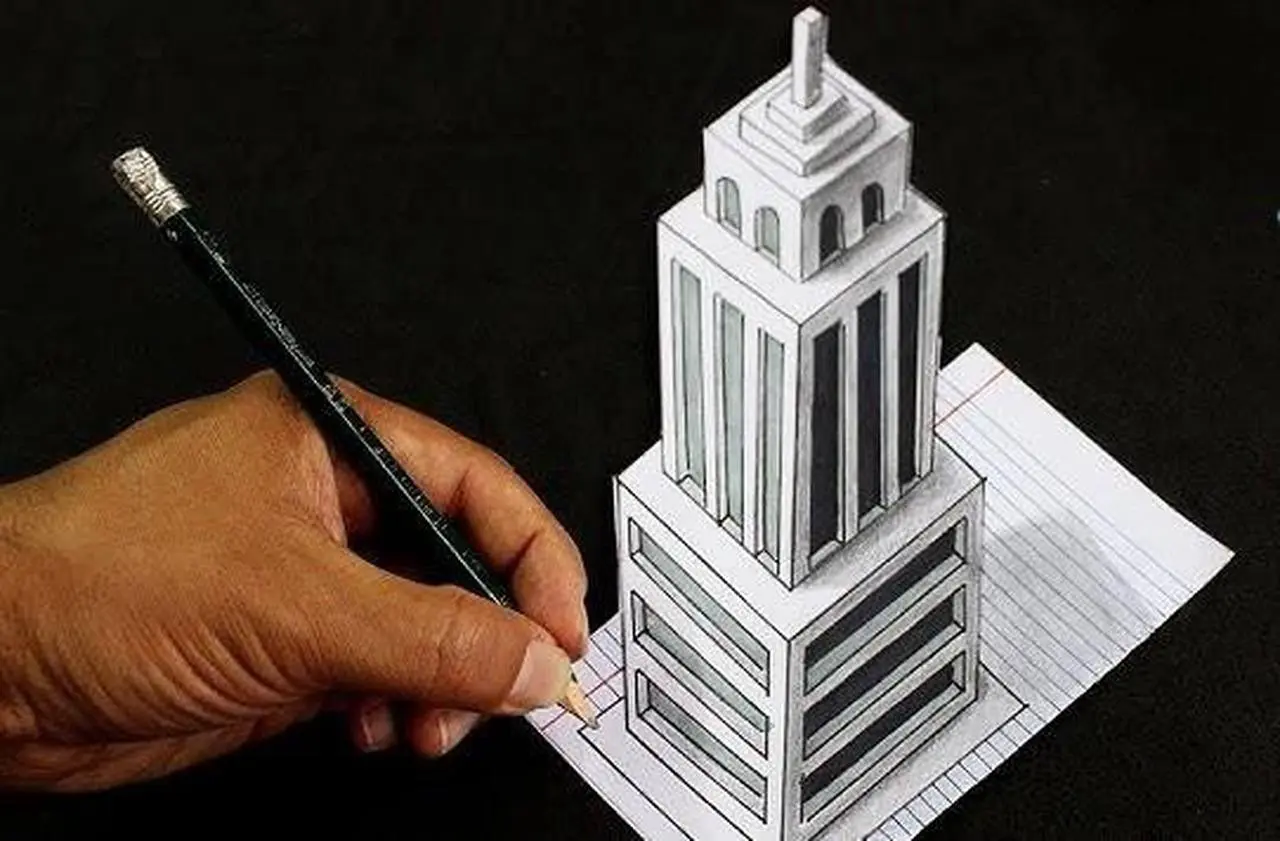
Drawing a 3D building can be a fascinating and rewarding artistic endeavor. Whether you're an aspiring architect, a hobbyist, or simply interested in honing your artistic skills, this guide will help you create a three-dimensional architectural masterpiece. In this step-by-step tutorial, we'll explore the fundamental techniques and tips required to draw a 3D building that looks realistic and captivating.
Materials You'll Need:
1. Paper: Select a good quality, heavy-weight paper to ensure your drawing doesn't get wrinkled or damaged easily.
2. Pencils: A range of pencils, including H (hard) for light lines and B (soft) for darker lines, will be essential.
3. Erasers: A kneaded eraser and a standard eraser for both precision and general erasing.
4. Ruler: A straightedge ruler will help you create accurate, straight lines.
5. Drawing Compass: For drawing circles and arcs.
6. Reference Images: Gather photographs or architectural drawings of buildings that inspire you. These will serve as references for your drawing.
Step 1: Create a Rough Sketch
Begin with a rough sketch of your building. Lightly draw the basic outline, ensuring you get the proportions and perspective right. You may want to use a 2H or H pencil for this step, as these pencils are light and allow for easy adjustments.
Step 2: Define the Vanishing Points
Understanding perspective is crucial when drawing a 3D building. To create the illusion of depth, determine the vanishing points, which are the points at which parallel lines seem to converge. You'll typically have two vanishing points for a two-point perspective drawing, and three for a three-point perspective. These points will help you maintain consistency and realism in your drawing.
Step 3: Add the Building's Base
Using your ruler and a pencil, draw the base of the building by connecting the lines to your vanishing points. This step establishes the building's foundation and sets the stage for the rest of your drawing.
Step 4: Sketch the Vertical Lines
Now, sketch the vertical lines that will form the sides of the building. Ensure that these lines are straight and parallel, as they represent the building's walls. Remember to align them with your vanishing points to maintain the correct perspective.
Step 5: Add the Roof and Windows
Using your reference images as a guide, draw the roof of the building and the windows. Pay attention to the architectural details, proportions, and spacing. These elements will make your 3D building appear realistic and visually appealing.
Step 6: Shade and Add Texture
Shading is what brings your 3D building to life. Use your range of pencils (from B to 6B) to add shadows and depth to your drawing. Pay attention to the light source in your reference images, and shade accordingly. Don't forget to include texture, such as bricks or architectural details, to make your building look more authentic.
Step 7: Fine-Tune and Erase
Carefully review your drawing and make any necessary adjustments. Erase any unwanted lines and refine the details. Use your kneaded eraser to create highlights and achieve a polished, professional look.
Step 8: Final Details and Accents
Add any final details like doors, signs, or people to give your building context. These details will make your drawing more engaging and relatable.
Step 9: Sign and Date Your Work
Once you're satisfied with your 3D building drawing, sign and date it. This simple step adds a personal touch and marks your progress as an artist.
In conclusion, drawing a 3D building may seem challenging, but with the right techniques, patience, and practice, you can create impressive architectural drawings. Remember that practice makes perfect, so don't be discouraged if your first attempts aren't flawless. Over time, you'll develop the skills and confidence to draw realistic and captivating 3D buildings that showcase your artistic talents. Happy drawing!
Please watch the video below for more about How to Draw 3D Buildings.